Recipe
 print this recipe
 tell-a-friend
 add-to-favorites
So what do you do when your Asian pear tree is loaded and you can't possibly eat them all one at a time? MAKE PIE! This is the first year our little tree bearing fruit and boy did it ever! And these little, round, delicious pear apples also make a great pie! It's that time of year and we can't just let them fall off the tree and rot! Well some folks do I suppose.... Anyway, if you have a bunch of Asian pears, make pie! Oh, and yes I am using a Pillsbury refrigerated pie crust. It's OK, really!
Ingredients:
Crust: :)
1 box Pillsbury refrigerated pie crusts, softened as directed on box
Filling:
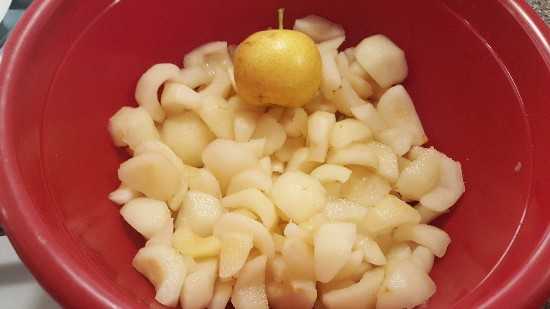
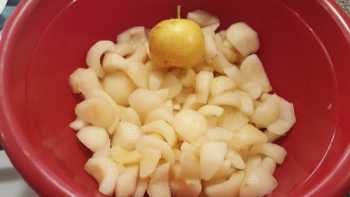
5-6 cups of ripe peeled and sliced Asian pears (mine are little so it took about 20!)
3/4 cup sugar
3 tablespoons all-purpose flour (they are juicy so yes, 3)
1 teaspoon ground cinnamon
1/8 teaspoon ground nutmeg
1/4 teaspoon salt
1 tablespoon lemon juice
Directions:
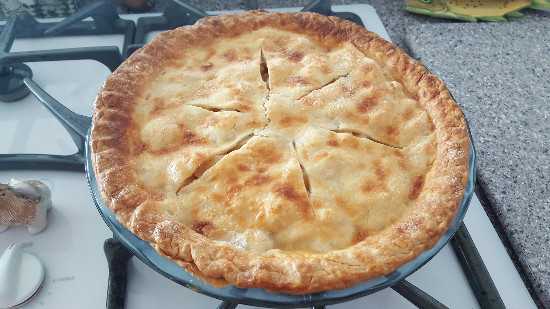
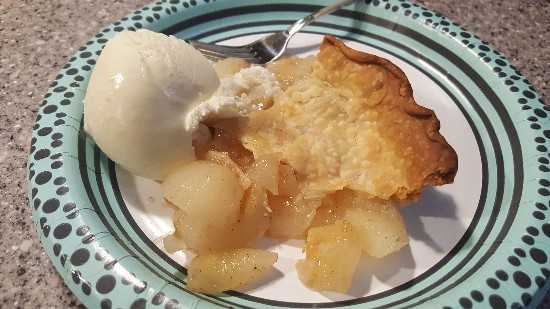
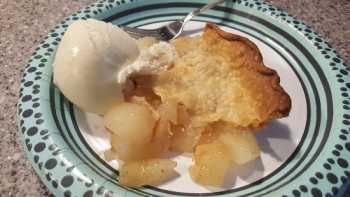
You will notice in the picture that we couldn't wait for it to cool for 2 hours so it's not the prettiest or perfect picture, but boy does it ever taste good!
Enjoy!
Ingredients:
Crust: :)
1 box Pillsbury refrigerated pie crusts, softened as directed on box
Filling:
5-6 cups of ripe peeled and sliced Asian pears (mine are little so it took about 20!)
3/4 cup sugar
3 tablespoons all-purpose flour (they are juicy so yes, 3)
1 teaspoon ground cinnamon
1/8 teaspoon ground nutmeg
1/4 teaspoon salt
1 tablespoon lemon juice
Directions:
- Pre-heat oven to 425 degrees
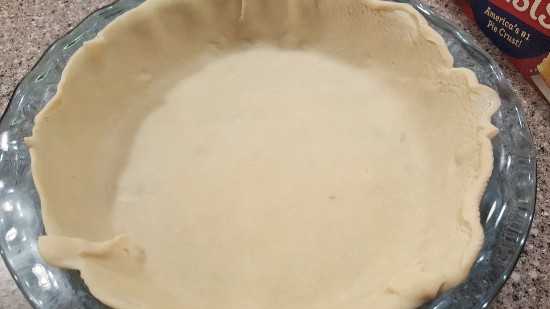
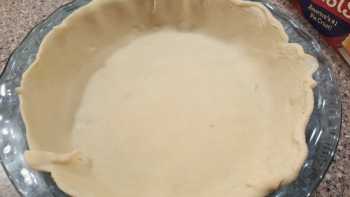
- Place 1 pie crust in ungreased 9-inch glass pie plate. Press firmly against side and bottom.
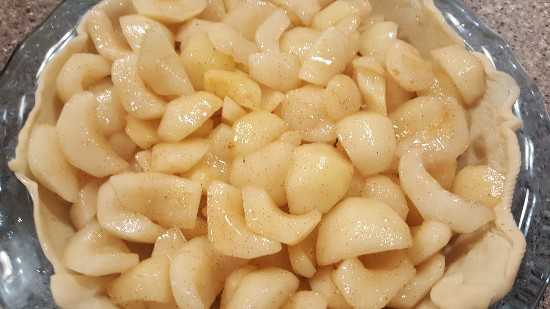
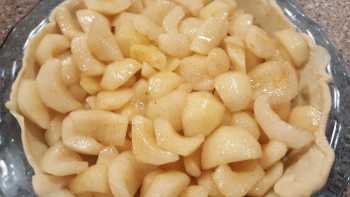
- In a large bowl, gently mix all the filling ingredients and spoon into your crust lined pie plate.
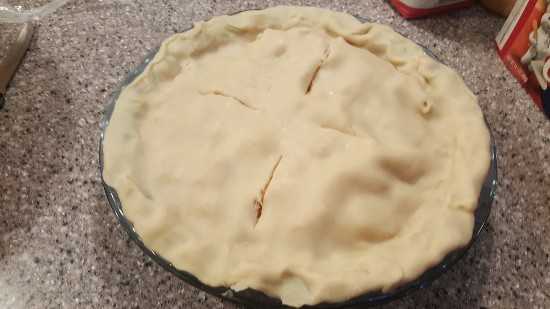
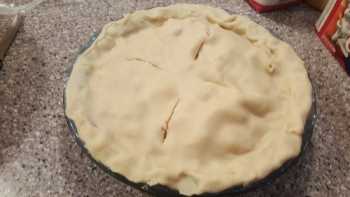
- Top with second pie crust. Pinch top and bottom pie crust at the edges to seal and cut 4 - 5 slits in top crust for venting.
- Bake 40 to 45 minutes or until crust is golden brown. Be sure to cover your edges after about 15 minutes of baking to prevent excesssive browning.
- Cool on a cooling rack for at least 2 hours before serving (we couldn't wait that long lol)
You will notice in the picture that we couldn't wait for it to cool for 2 hours so it's not the prettiest or perfect picture, but boy does it ever taste good!
Enjoy!
Recipe Comments - Must be logged into Facebook to comment
View or add your comments on this recipe below. You can choose to have it show on your Facebook wall or just on this page.


